 Message
 中文
中文
 English

News


News
5-Step Guide to Installing LED Waterproof Connectors (With Leak-Proof Tips)
Release time:2025-06-07
viewed:573
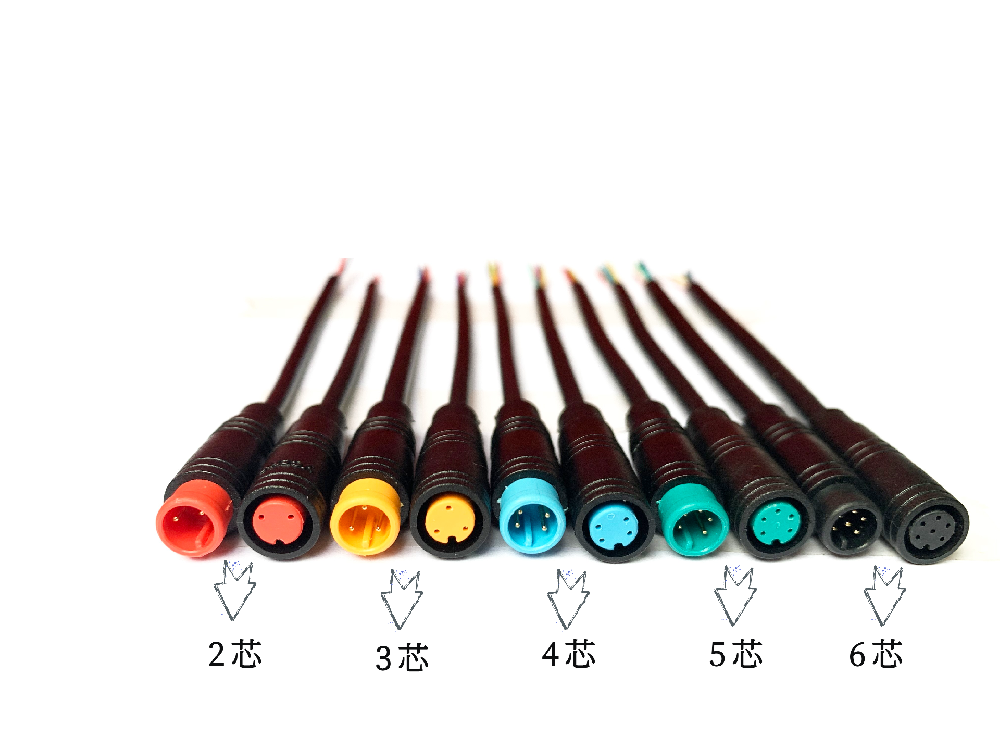
LED waterproof connector are critical components for ensuring reliable and safe electrical connections in outdoor, marine, or industrial LED lighting systems. Proper installation not only extends the lifespan of your LED setup but also prevents hazards like short circuits. This guide breaks down the process into 5 simple steps while highlighting key precautions.

Before installation, check the LED waterproof connector for cracks, debris, or damaged seals. Ensure the IP rating (e.g., IP68) matches your environmental needs. A compromised connector defeats its waterproof purpose.
Strip the wire ends to the recommended length (typically 5–7mm). Twist stranded wires tightly to avoid fraying. For optimal conductivity, use tinned copper wires if exposed to moisture.
Insert the wires into the LED waterproof connector’s terminals, ensuring no bare wire is exposed outside. Tighten screws or clips firmly—loose connections can cause arcing or heat buildup.
Most LED waterproof connectors feature rubber gaskets or O-rings. Align these seals properly before locking the connector housing. For gel-filled types, verify complete coverage around the wires.
After assembly, conduct a low-voltage test to confirm functionality. For extra safety, submerge the LED waterproof connector in water briefly (power off) and check for leaks.
Leak-Proof Tips:
Apply dielectric grease to seals for enhanced water resistance.
Avoid bending wires sharply near the LED waterproof connector to prevent seal gaps.
Route cables downward to let gravity deter water ingress.
Mastering these steps ensures your LED waterproof connector delivers peak performance in harsh conditions. Regular maintenance—like cleaning seals and retightening screws—will further safeguard your LED systems. Whether for garden lights or underwater projects, a well-installed connector is the backbone of durability.
 Returns a list
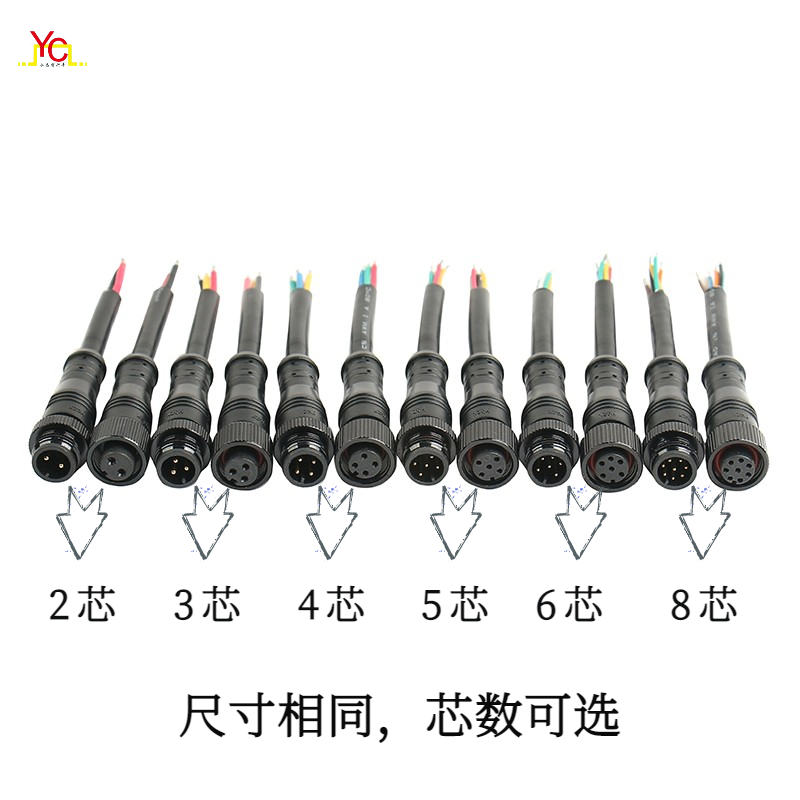

 0755-28471633